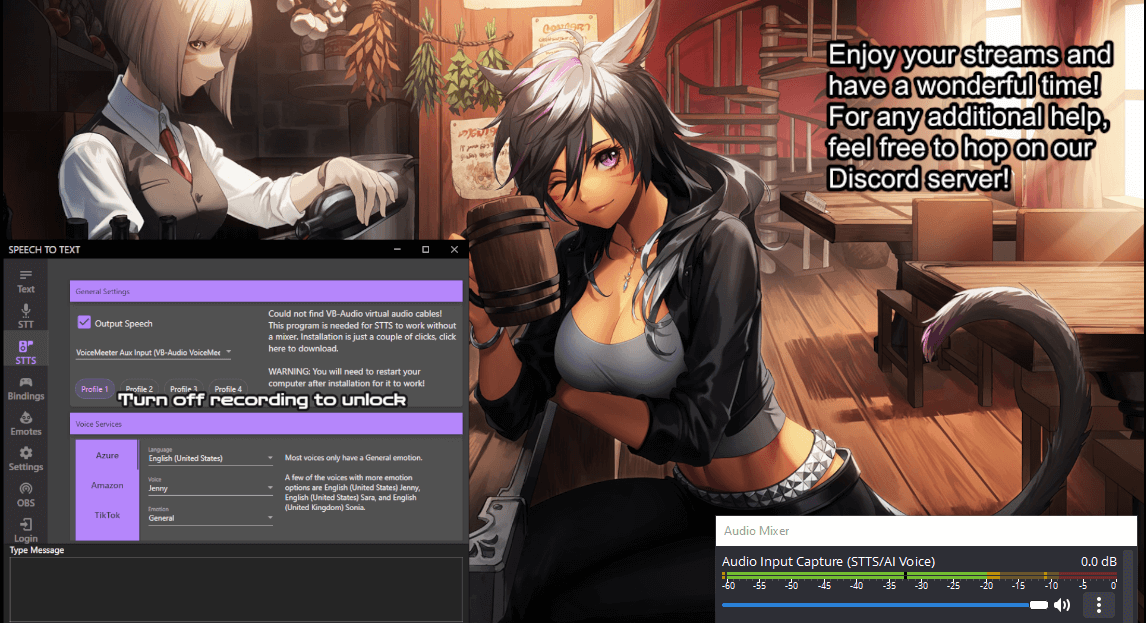
OBS Studio is one of the most popular choice of streaming applications used by streamers and VTubers. It allows you a wide variety of plugins and scripts that can be used and a lot of customizations capabilities. There are other streaming programs out there that can accomplish what OBS is doing such as StreamLabs, Lightstream and XSplit but this tutorial will be centered on OBS Studio. In this guide, we will show you an easy setup where your words will be converted to text with the help of VRCSTT as the AI voice being captured by OBS to achieve the following:
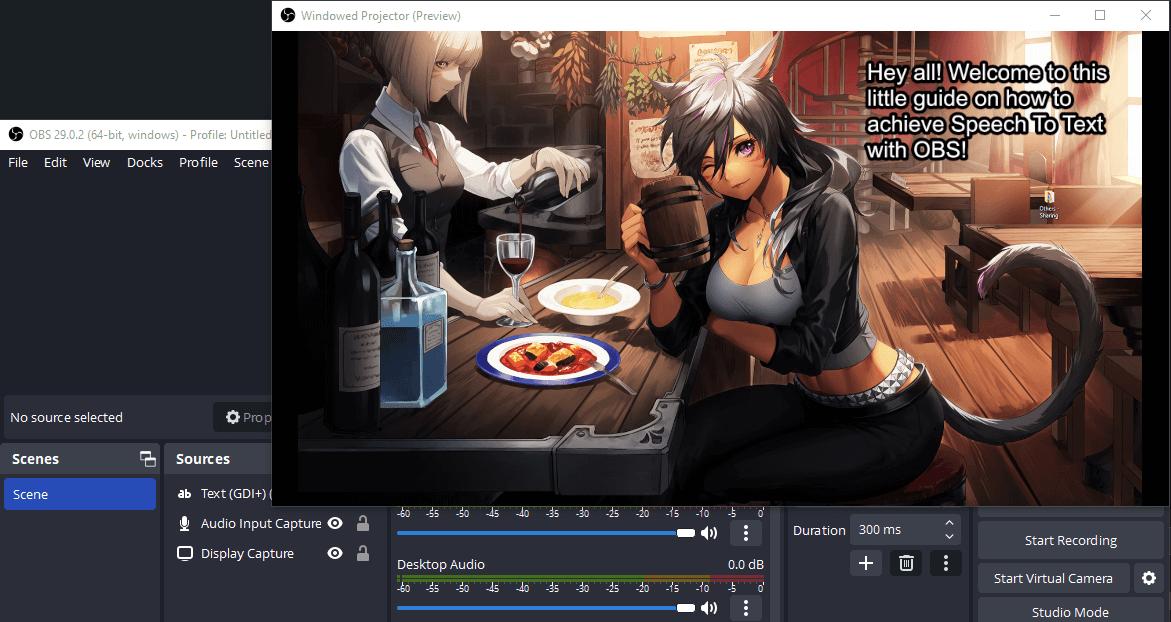
Once you have your virtual cables ready we can go ahead and install OBS Studio. If you haven’t set up your virtual cable/drivers, you can head to one of the following guides:
Voicemeeter Banana: https://vrcstt.com/guides-setup/voicemeeter-banana-setup/
VB-Audio Cable: https://vrcstt.com/guides-setup/virtual-audio-cable-setup/
Once done, you can install OBS Studio from their website at: https://obsproject.com/download
We’ve already covered the basic setup of the STTS from the Voicemeeter Banana and the VB-Audio guides. So what’s left to do here is to create the OBS components to set our virtual microphone to our OBS program as well as the GDI window to show our text. So before we go back to OBS, we will open our STT Program and head to the OBS tab where we will checkmark the “Enable Logging“.
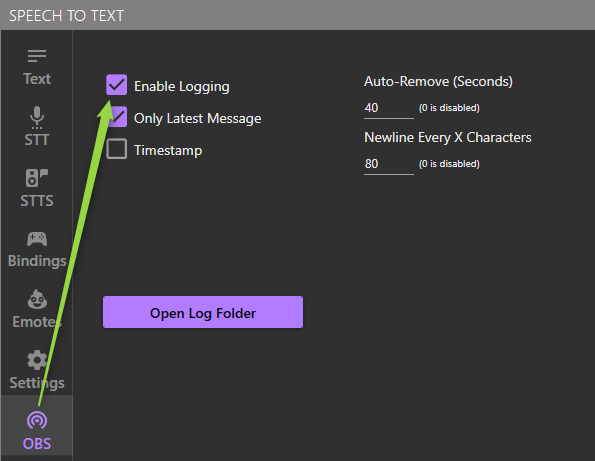
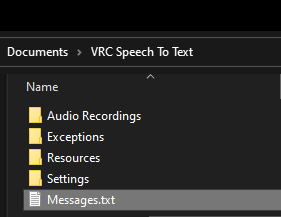
Once this is enabled, anything we record in our program will be saved in a file named “Messages.txt“. This file will serve us in OBS where later we will create a component that will read our latest messages in that file and will display the text on screen for our viewers. You can find the file by clicking on the button “Open Log Folder” to quickly open up its location.
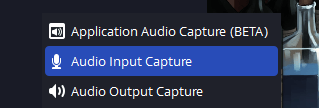
If we were to use our normal microphone our viewers would hear our real voice rather than hear the STTS voice. For that matter, we need to use our virtual microphone inside OBS. We will go ahead and add a source called “Audio Input Capture” and set the Properties to our virtual microphone.

Note: If you happen to be using VB-Audio Software rather than Voicemeeter, your virtual microphone will be called: “Cable Output (VB-Audio Virtual Cable)“.
Once added, your source should look something like the following:

At that point, you can do a small test and verify if you see any activity shown in the Audio Mixer. If you don’t detect anything, make sure that the device you have selected is the correct one or that your STT Program is recording your voice.
Remember earlier where we made it so our STT Program would log our speeches in a separate document? We’ll now be assigning that document to a new source that will be called “Text (GDI+)“. Once it is created, there will be a lot of customization that we will be able to perform but the most important one will be to specify our source where to read our text from. We will enable the “Read from file” and browse our directory until we have found our Messages.txt file.

Once that is done, the rest is up to the creator to decide how they want their text to look like! If you want something easy to start with just like what was shown in the preview above, here are the settings that were used:
==========
==========
And there you have it. If you’ve completed Step 3 and Step 4, you should be able to record your voice and have an AI voice heard throughout your streams as well as the text being displayed on screen!
